- To make a blog post on your website, first, log in to your site. Your login screen should look like this. To access, go to https://yourdomain.com/login, changing "yourdomain.com" to the domain of your website. NOTE: you can click the images in this article to enlarge them for easier viewing.
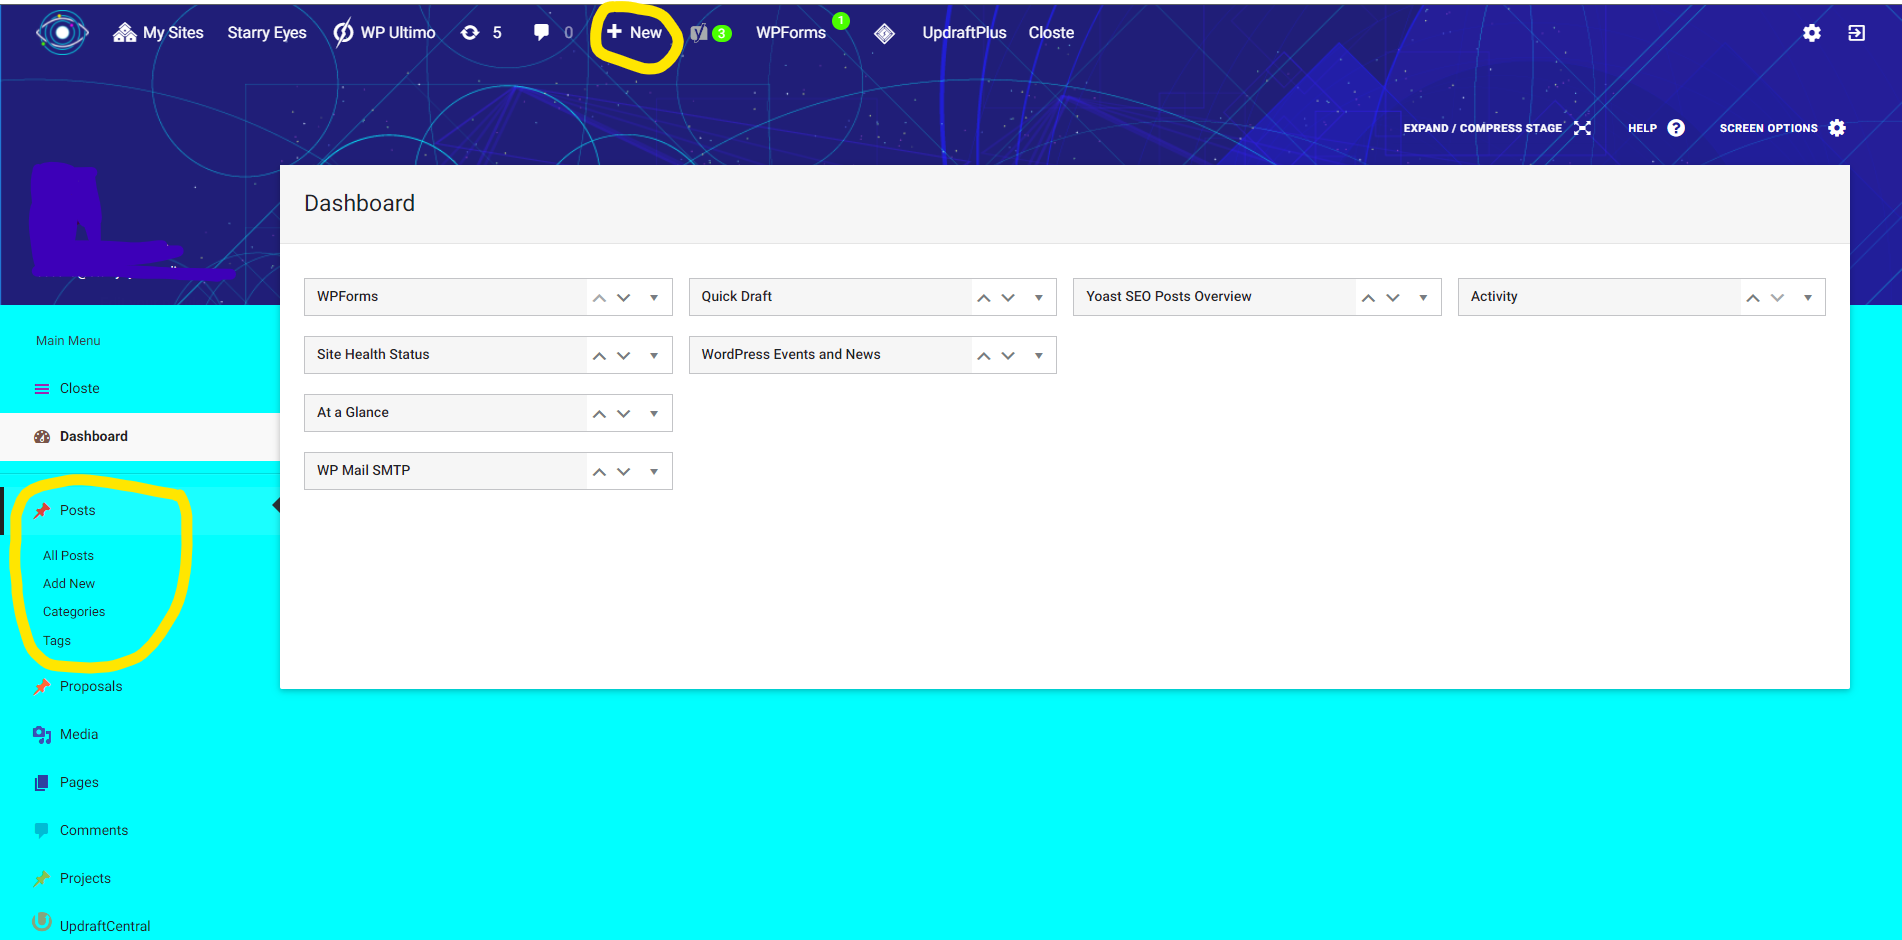
- Once you log in, the next screen will be your admin dashboard on the back-end of your website. Look on the left-hand toolbar for the “Post” options. Click “posts” and choose “Add New”. You can also select "+ New" at the top of the page, and then select "post":
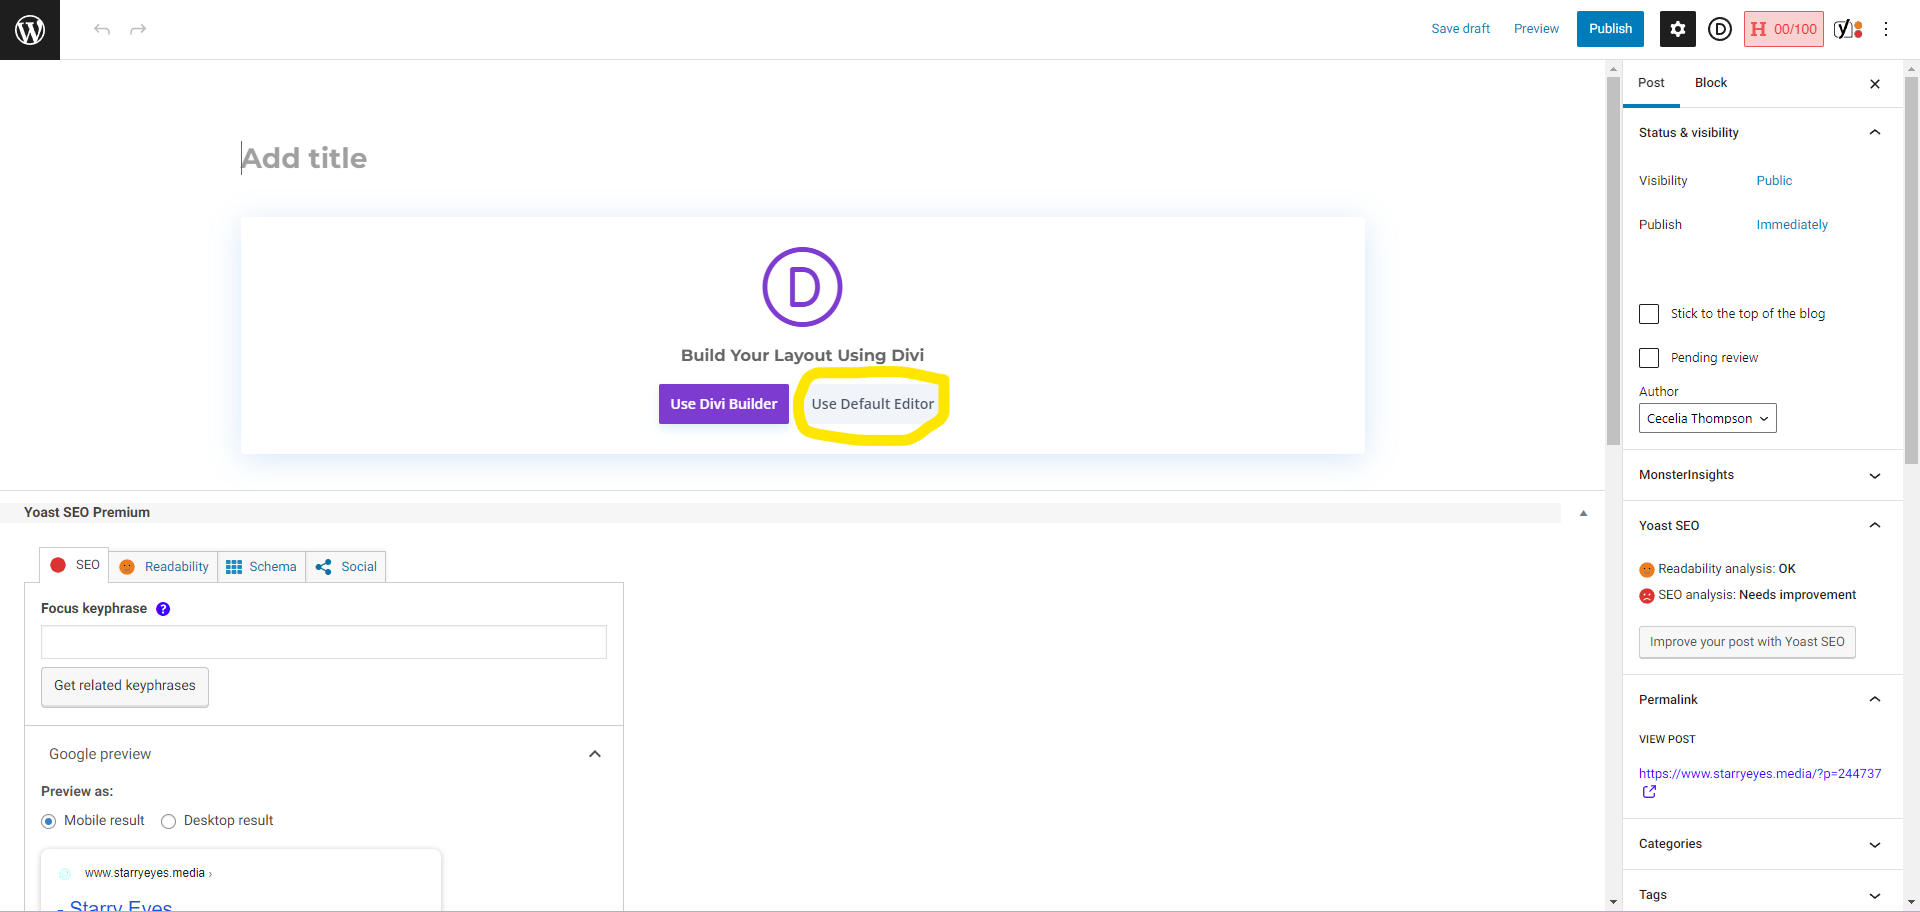
- The next screen you’ll see is where you’ll draft your Blog post. Start by entering a title and then clicking the “Use Default Editor” button. Depending on your access level on the site, you might not see this. If you don't see this, skip to the next step:
- Next, click in the area that says, "Add Title" and add the title of the blog post (e.g. How to create a blog post in WordPress). Then, click on “Type / to choose a block” and begin typing out your blog post’s text.
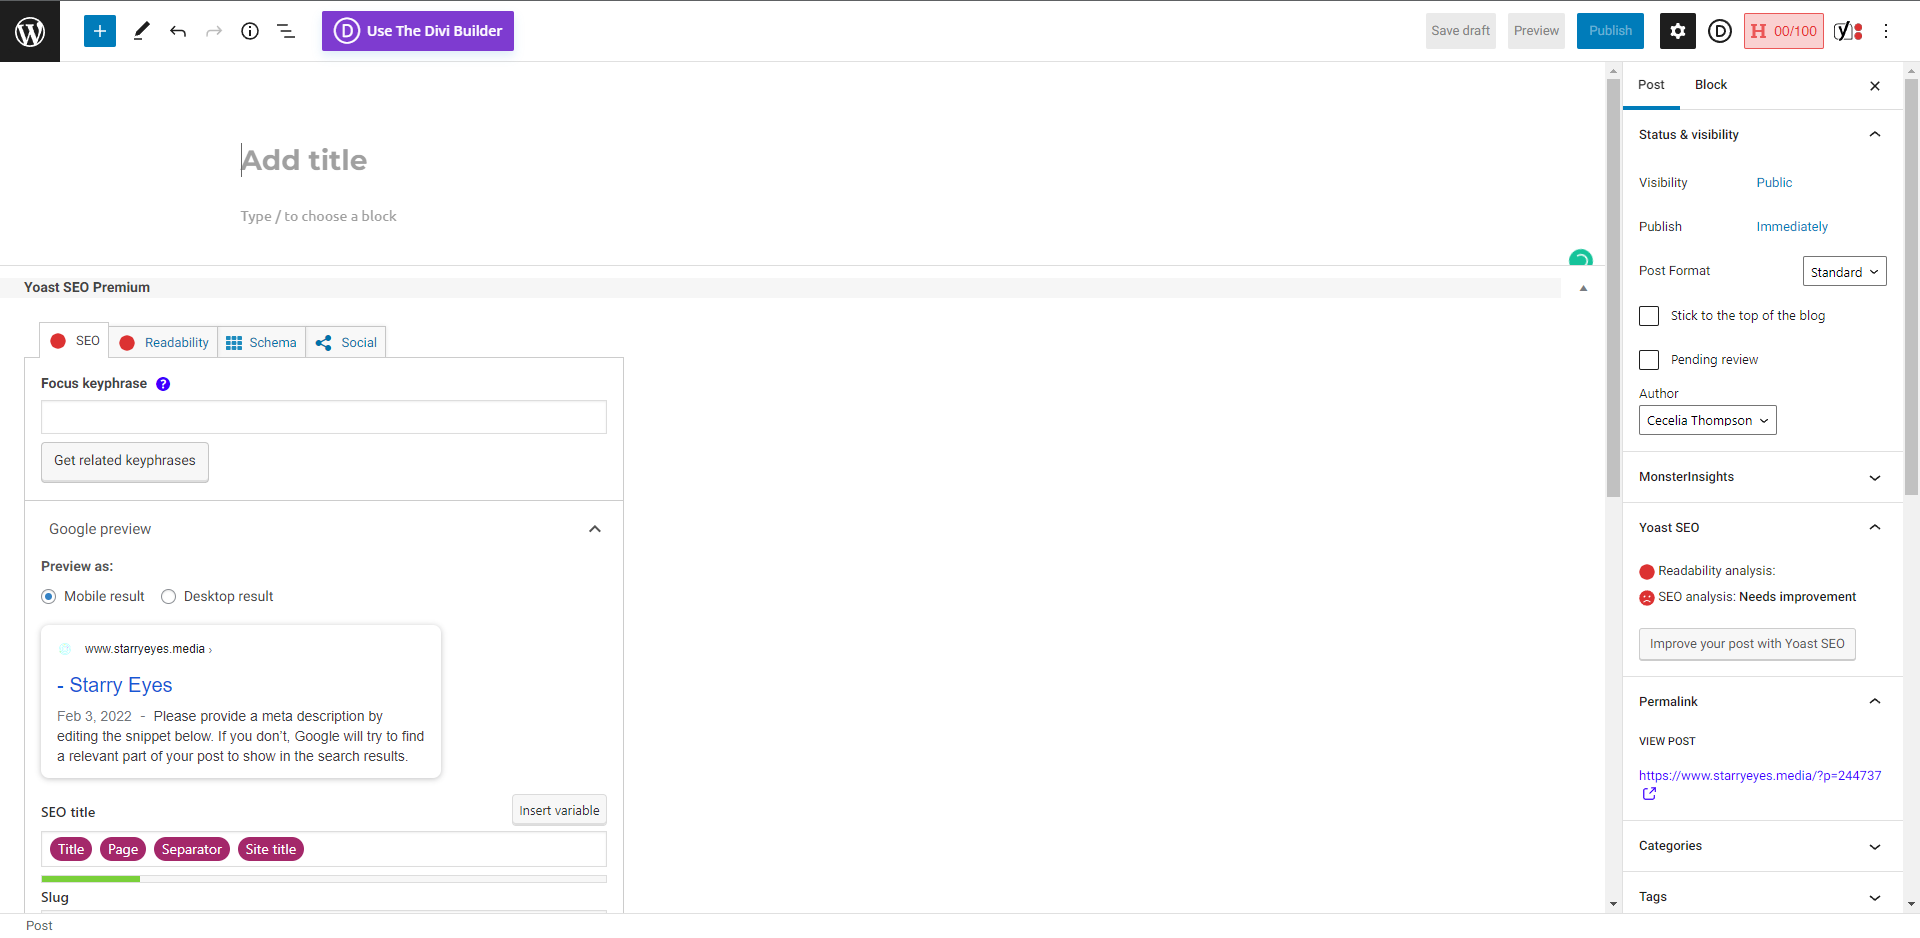
PLEASE NOTE: Be sure to click the “Save Draft” link at the top of the screen, beside the “Preview” button, if you are going to take a break from writing and come back later.
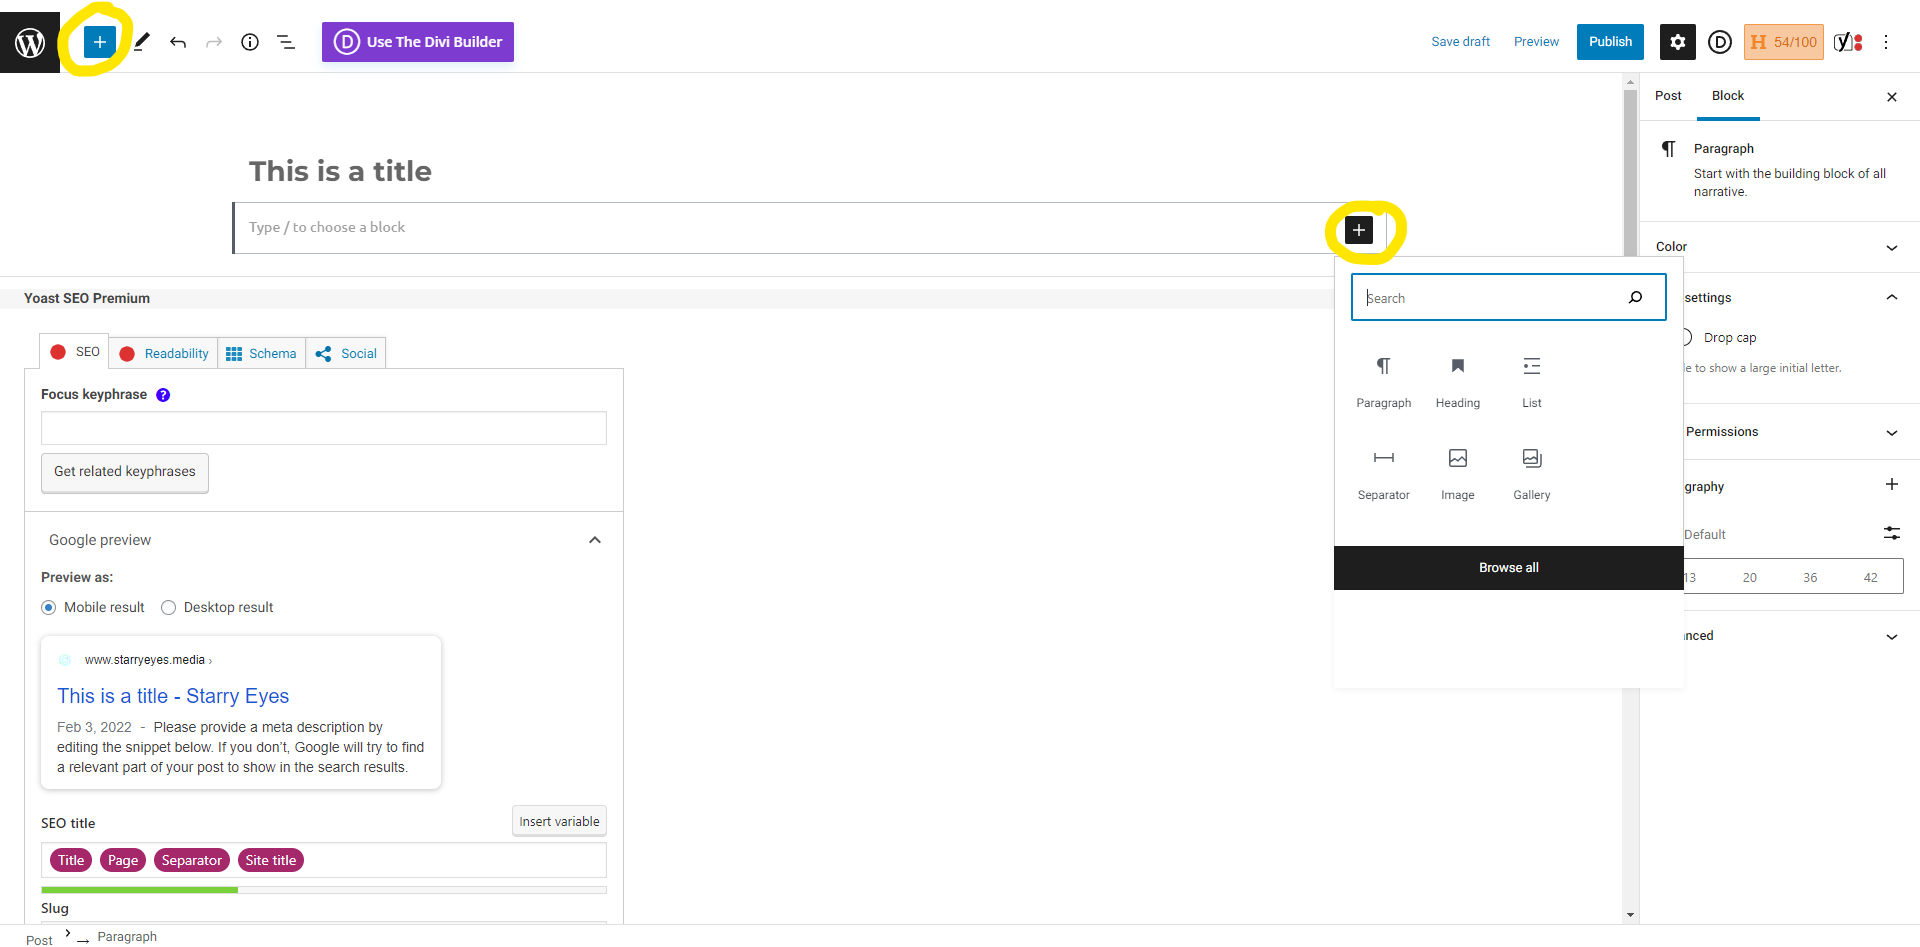
- To add a block to the post, click the "+" button, located to the upper left or at the right of the text area. This is where you'll be able to add a heading text, image, gallery, videos, etc. Heading text will be the title of the section you're typing. We recommend using H2 or below for optimal SEO results. To add an image, choose the image block. You can choose an image that exists in the library, or you can upload a new image. If you would like to add images that have never been used on the site before, you’ll want to click the “Upload” option. Alternately, if you have already added images to your site’s Media Library, you can click the “Media Library” button to access a list of images already saved to the website:
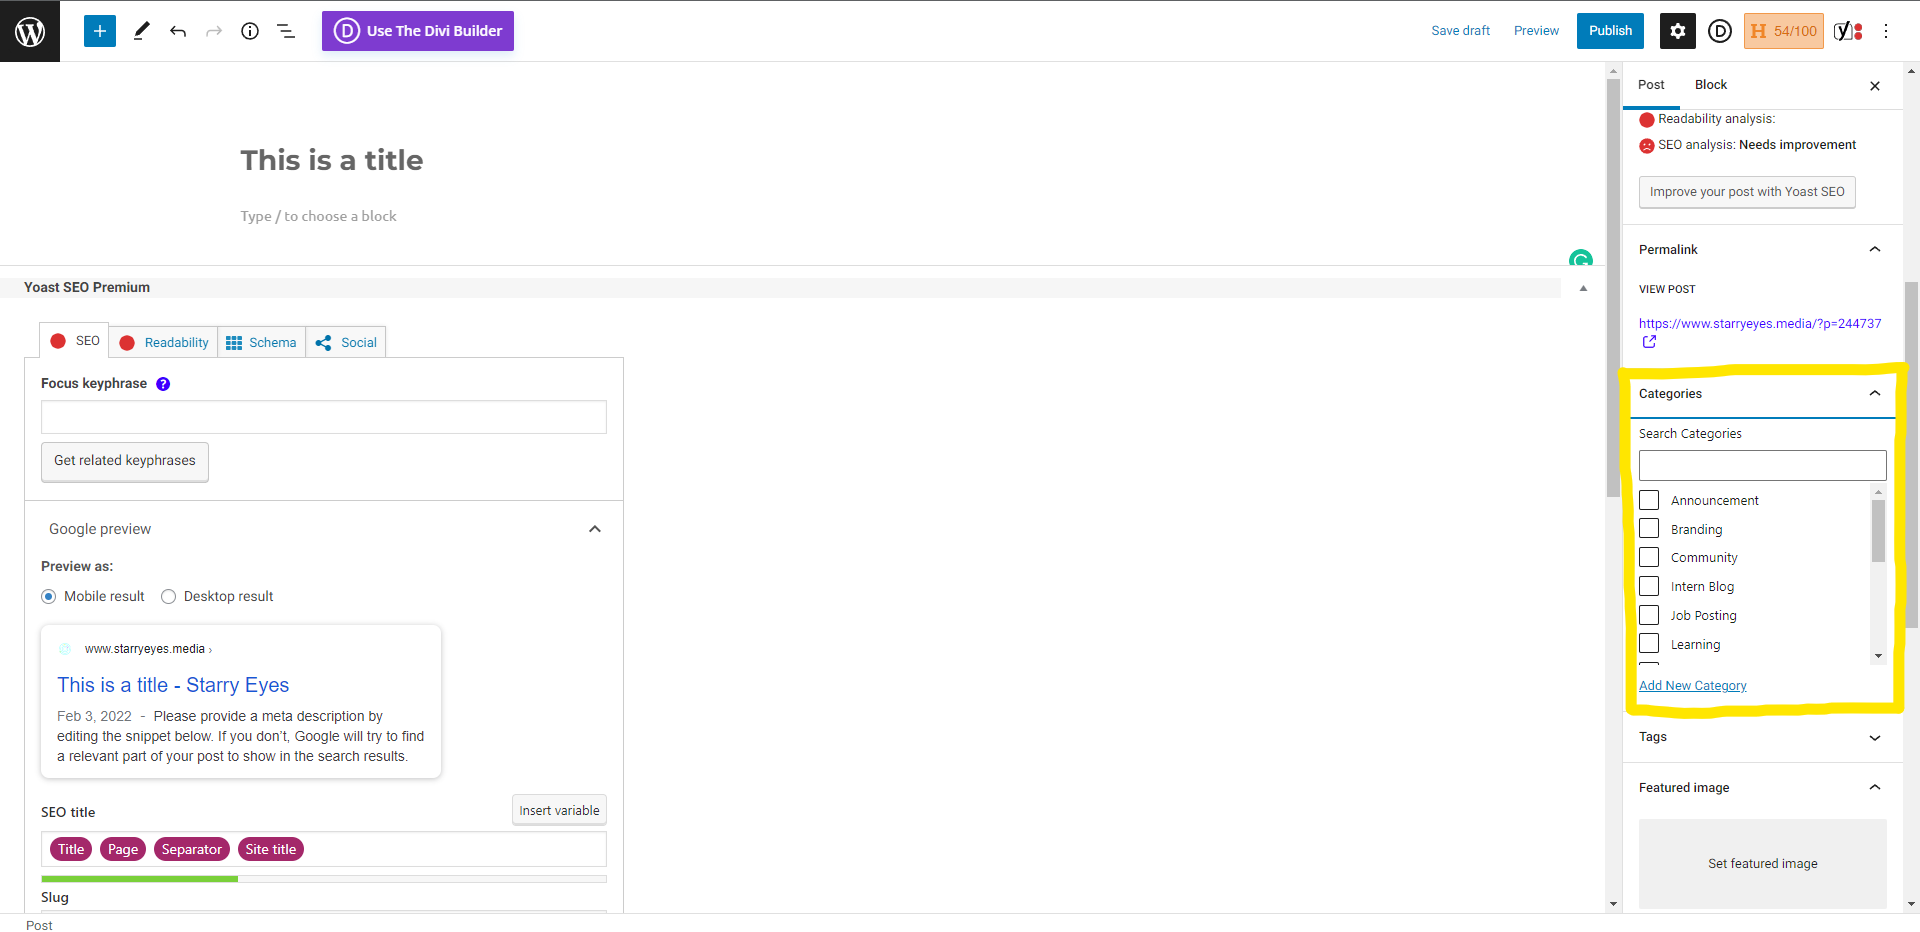
- Once you’re satisfied with the text and images you’ve added to your blog post, you will want to add a “Featured Image” for the blog post (this will be the “preview” image), as well as categories to label/organize your blog post (categorizing your blog post is essential and will help with SEO). To access the options to choose your featured image and categories, make sure the right-hand toolbar is set to “Post” (not “Block”). Scroll down, and you'll find the featured image accordion. Click "set featured image," and choose the image you'd like to feature:

- If you haven’t added any categories to a blog post yet, your list of categories will only contain “Uncategorized.” Click the link “Add New Category” and add one more or more new categories (once you add categories and save your blog post, you will be able to find/use these categories in the future for related blog posts).
- Once you have all the content set for your blog, you can either publish the blog post or Save it as a Draft in case you’re not ready for it to be seen by viewers on the website. There are some other things you can do to increase the SEO impact of your blog, but it’s a good idea to go ahead and save what you have done so far. Saving a draft will not make it public. To publicly publish it, click the "Publish" button once, and then it will ask you if you're sure. Click publish again:
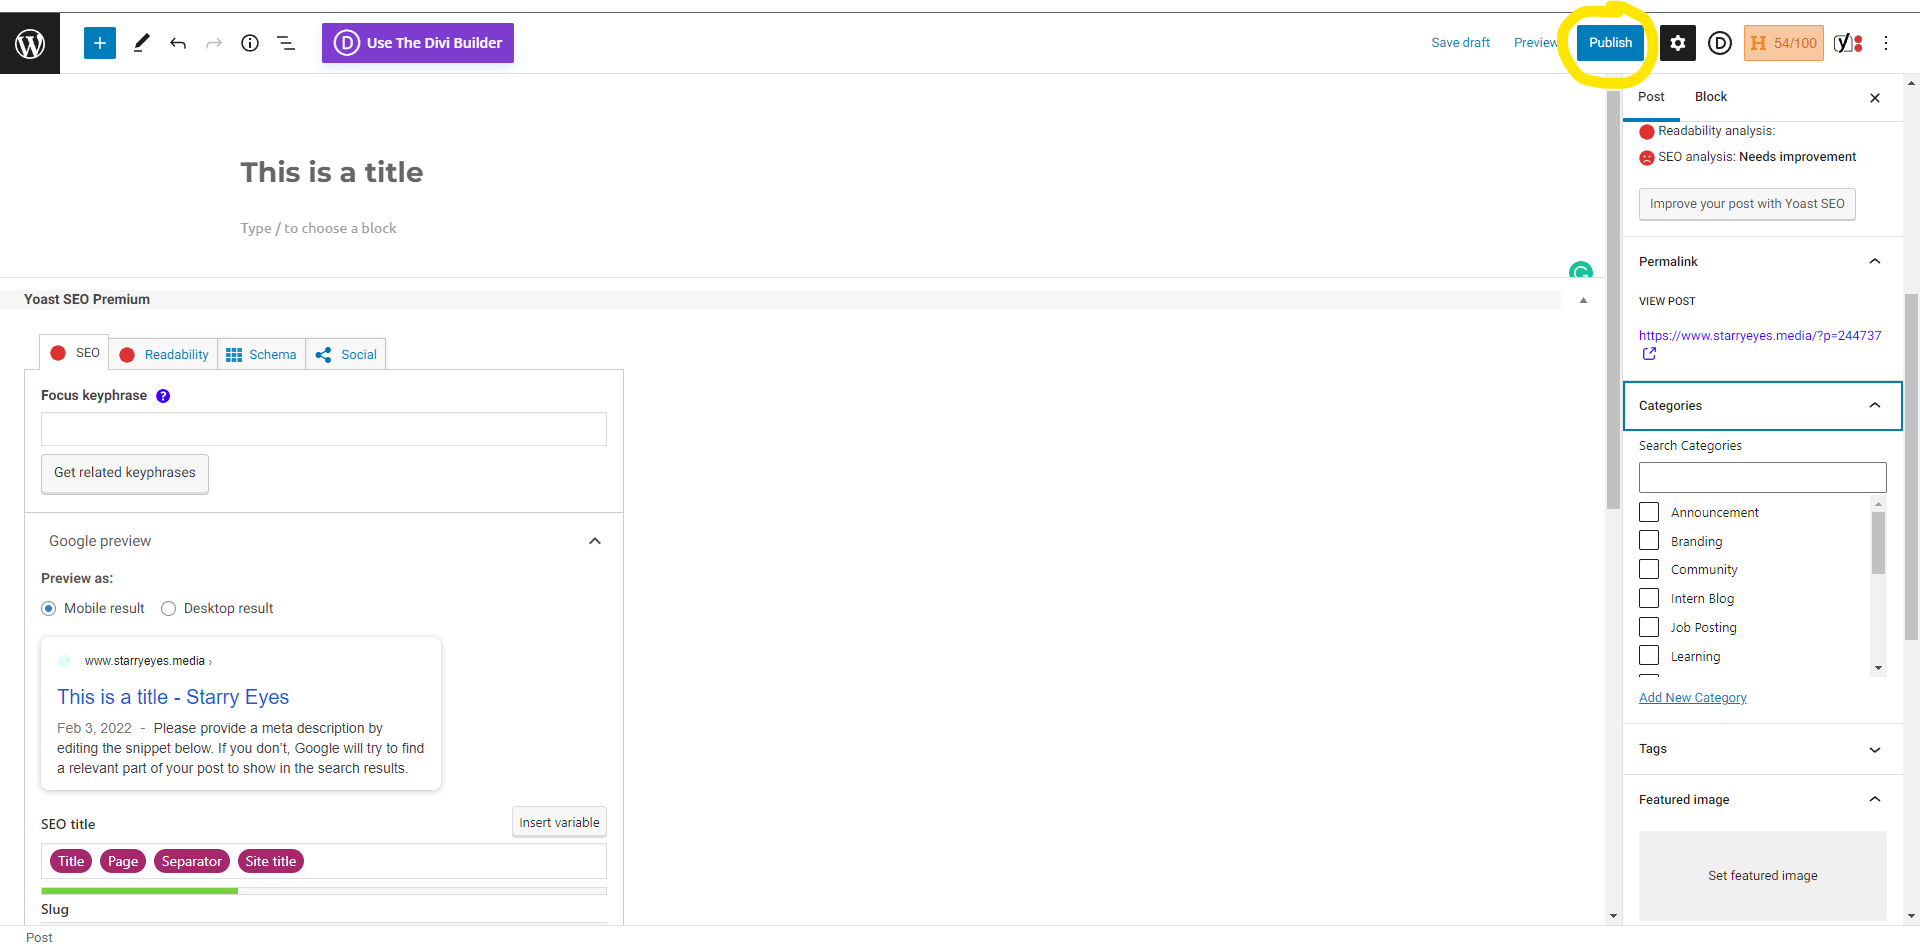
PLEASE NOTE: Once you click “Publish”, be sure to wait for the page to refresh with a popup message “Post published” in the bottom left-hand corner of the screen. If you try to go to another page in the same browser tab before confirming the post has been saved, you will likely lose your progress/data for the post.
- SEO Tweaks: If you want to spend some extra time adding details to your post that boosts SEO, scroll down to the “Yoast SEO Premium” section. Yoast is third-party software we have invested in that helps tweak different aspects of website content to optimize it for search engines, such as Google and Bing. Each area in this section generally has a “?” icon for more info about how to use the section and what to do. Clicking the “?” will open a new browser tab on Yoast’s site, taking you to a specific help article that contains detailed instructions and info about the topic you’ve clicked.
If you'd like to see a video with a quick run-through of everything in this article,
just click this link. If you'd only like to see SEO usage, jump to minute 5:04.