Use this article as a quick reference guide for setting up a billing account to use with Google Maps API. For more information about Google Maps billing and pricing, check out these links to select Google support documentation:
- Program Discounts: Google offers special discounts for nonprofit, startup, crisis response, news media, and educational organizations
- Google Maps Pricing: Check out Google's official pricing and promotional credits documentation. Keep in mind, you'll need these:
- Atmosphere Data: $5.00 per 1000 requests
- Autocomplete - included with Places Details - Per Session: $2.83 per 1000 requests
- Autocomplete - without Places Details - Per Session: $17.00 per 1000 requests
- Basic Data: $0
- Contact Data: $3.00 per 1000 requests
- Dynamic Maps: $7.00 per 1000 requests
- Geocoding API: $5.00 per 1000 requests
- Places - Nearby Search: $32.00 per 1000 requests
- Places Details: $17.00 per 1000 requests
- Place Photos API: $7.00 per 1000 requests
Step 1: Go To The Start Page for Google Maps APIs
Navigate to https://console.cloud.google.com/google/maps-apis/start
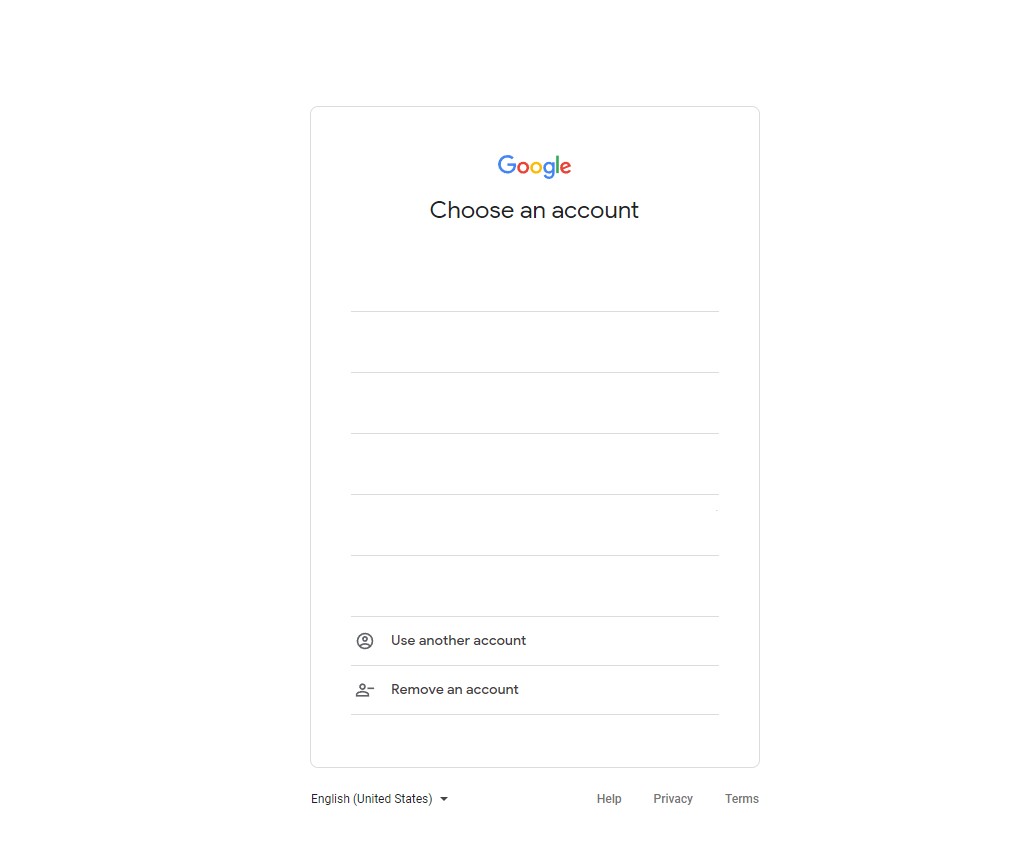
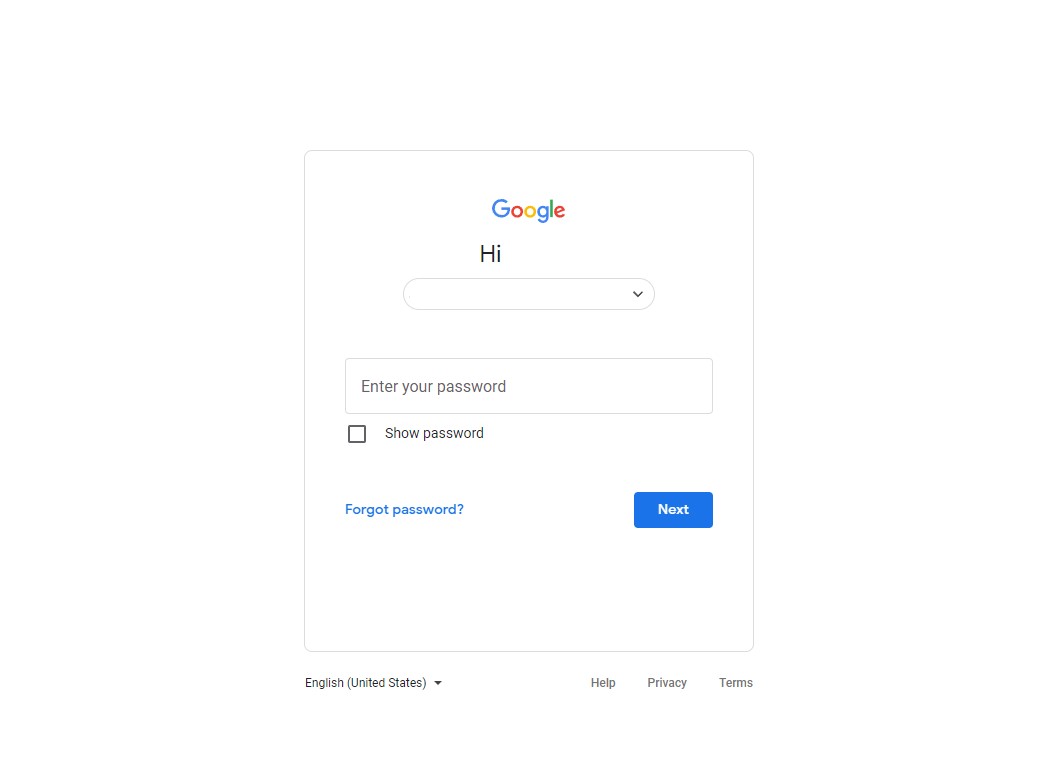
Step 2: Login/Create New Account
Once you begin, you'll need to either use an existing Google account or create a new one.
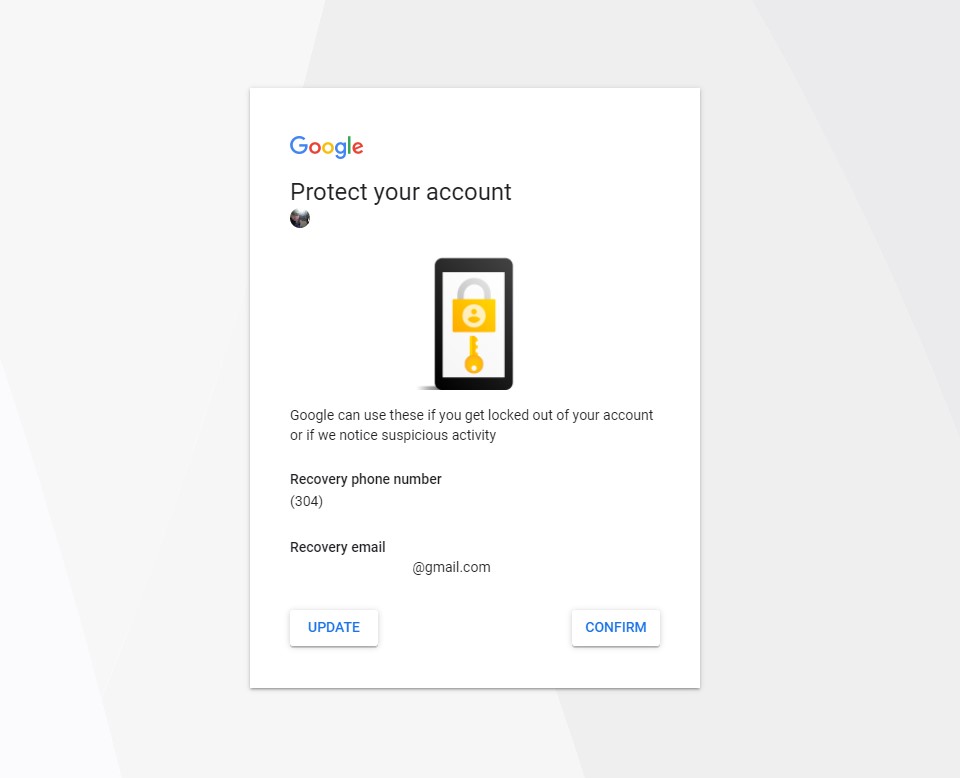
Depending on whether or not you have recovery contact details entered into your Google account, you might be prompted to enter recovery details or confirm the ones you've previously entered.
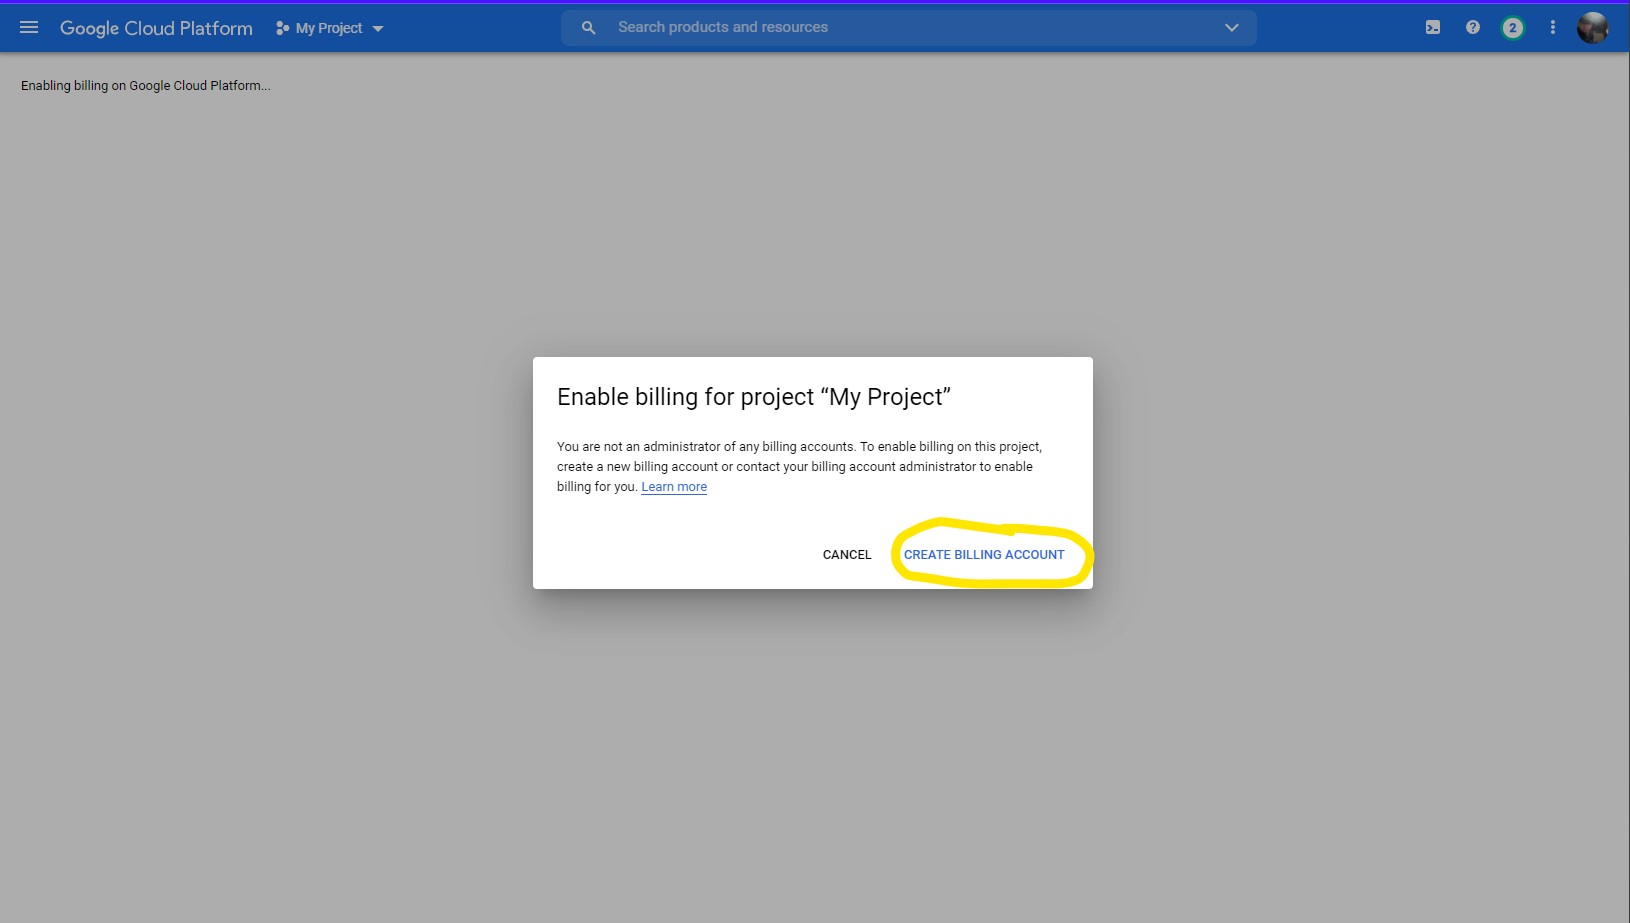
 Step 3: Enable Billing Account
Once you complete these prompts, you'll be taken to a screen that opens with a popup dialog box, prompting you to enable billing (see screenshot below). Click the "Create Billing Account" button.
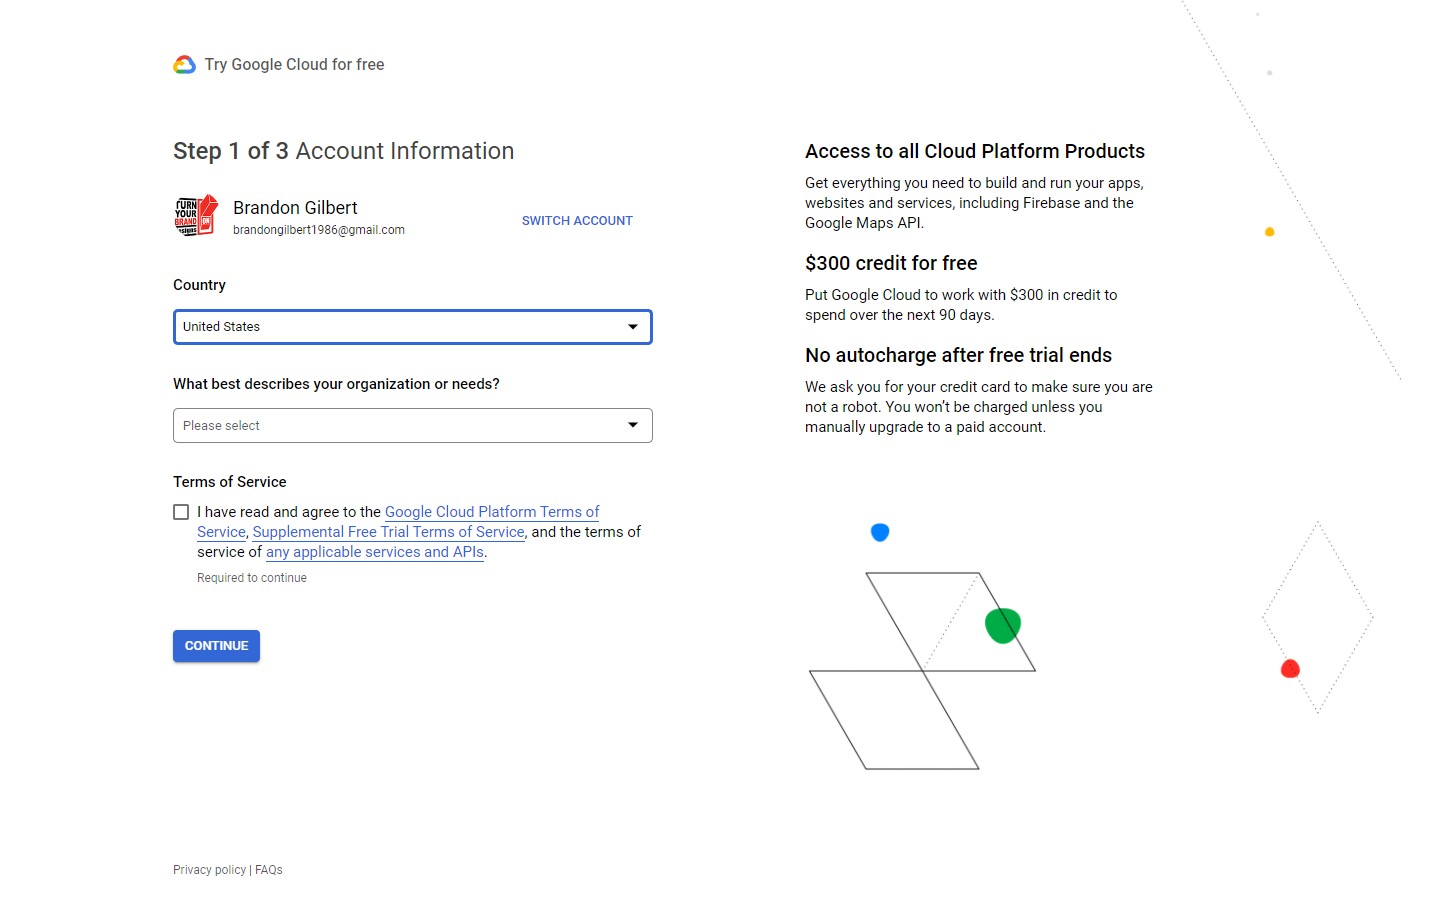
You'll now begin entering billing account details. The next prompt include having you enter in basic details about your business:
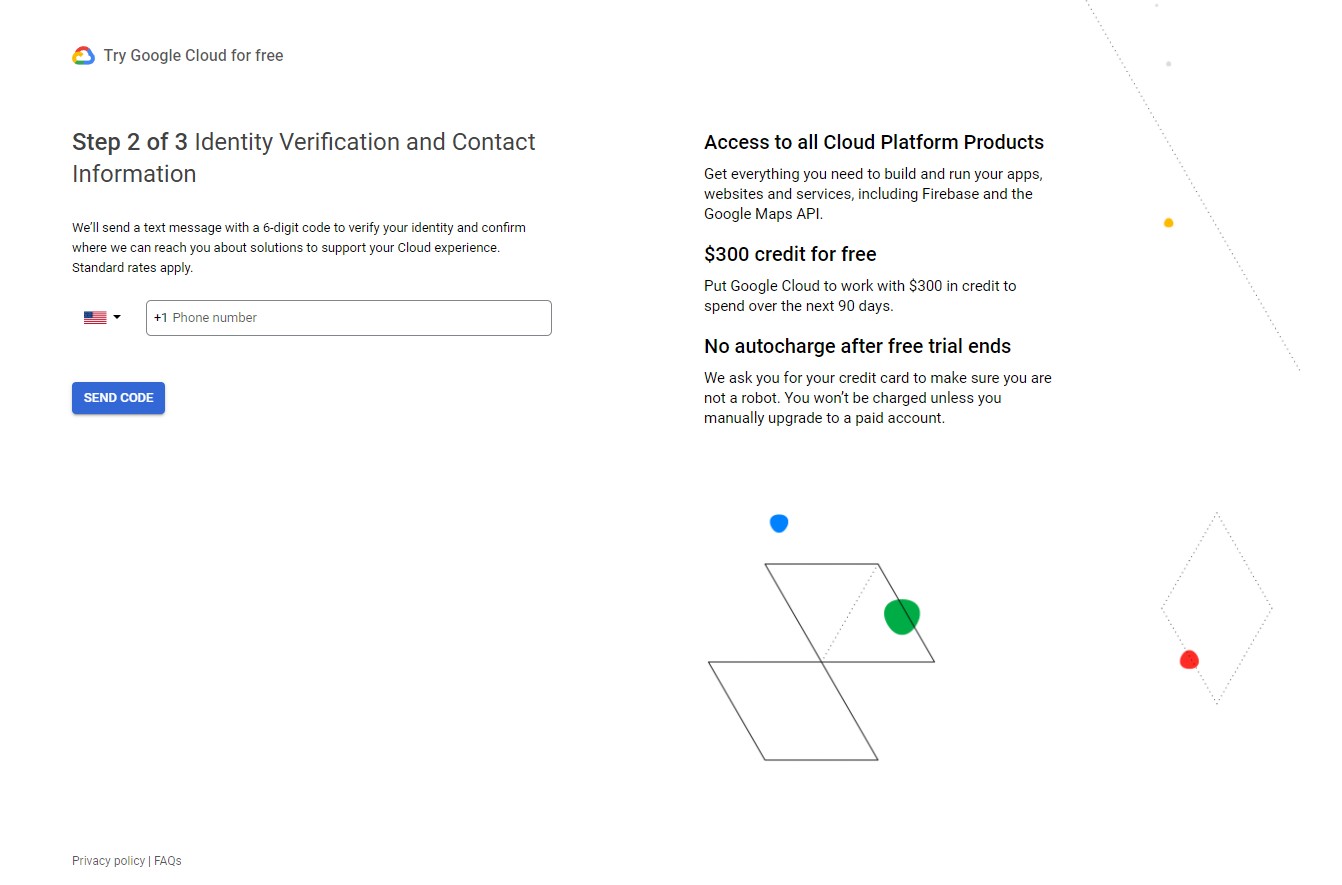
For security purposes, you'll next need to enter the cell phone number that's associated with your Google account. Enter it and click the "Send Code" button.
Check your mobile phone for the code and enter it in the next prompt.
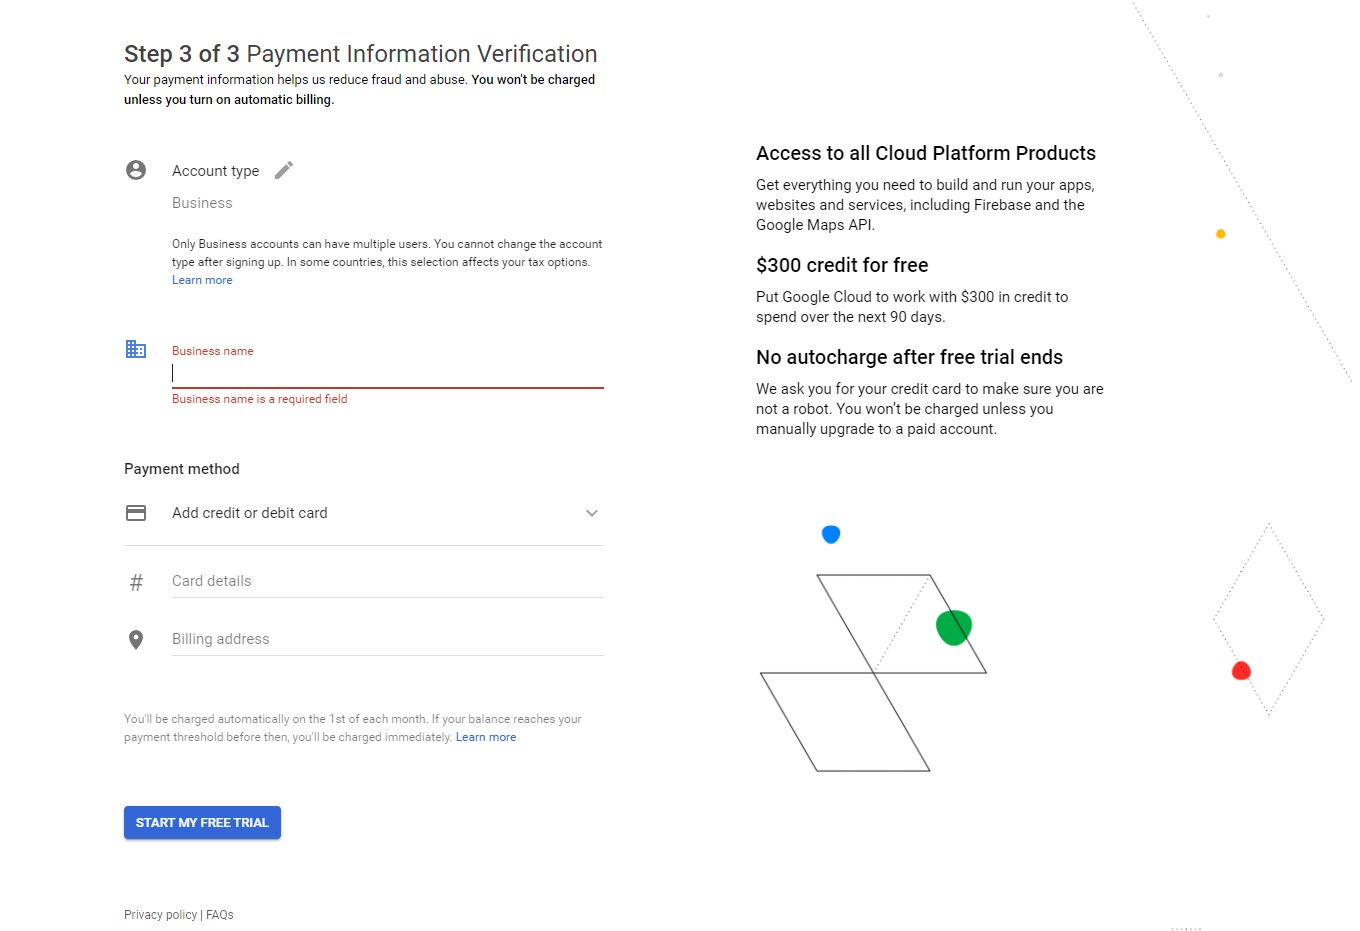
In Google's final step for creating a billing account, you'll enter your business name and payment method details. To complete this process, click the Start My Free Trial button.
Once you complete the above steps, we can proceed with creating a custom API key with Google Maps to use on your website project. From here, you can either provide us with login access to your account or you can read our next support article "Google Maps API 2: Create An API Key." to guide you along the process of creating an API key in Google Maps that you can share with us to use with your website project.