Is your website store powered by Shopify? If so, we'll need to transfer to you ownership of the Shopify Account we used to put your store together. First, you'll need to create a Shopify account if you don't already have one. This article explains what you will need to do once we have finished putting together your website integrated Shopify store.
Note: if you already have a Shopify account, please send an email to [email protected] to let us know and give us the email address registered to your existing Shopify account.
Accepting Our Invitation
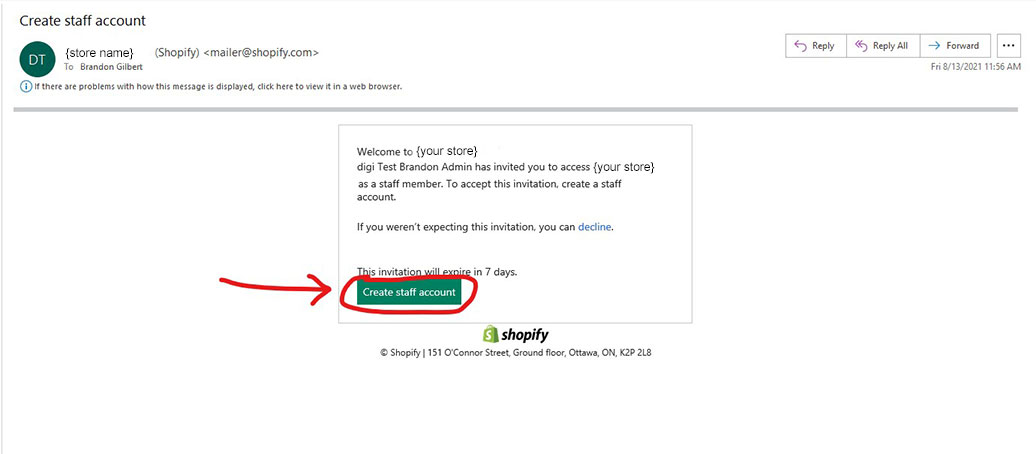
- First, before we can transfer your Shopify Account, you will need to set up your staff account with Shopify. We will send you an invite to become a staff member on your account. The invite will come in the form of an automated email from Shopify. Open the email and click the "Create Staff Account" button.
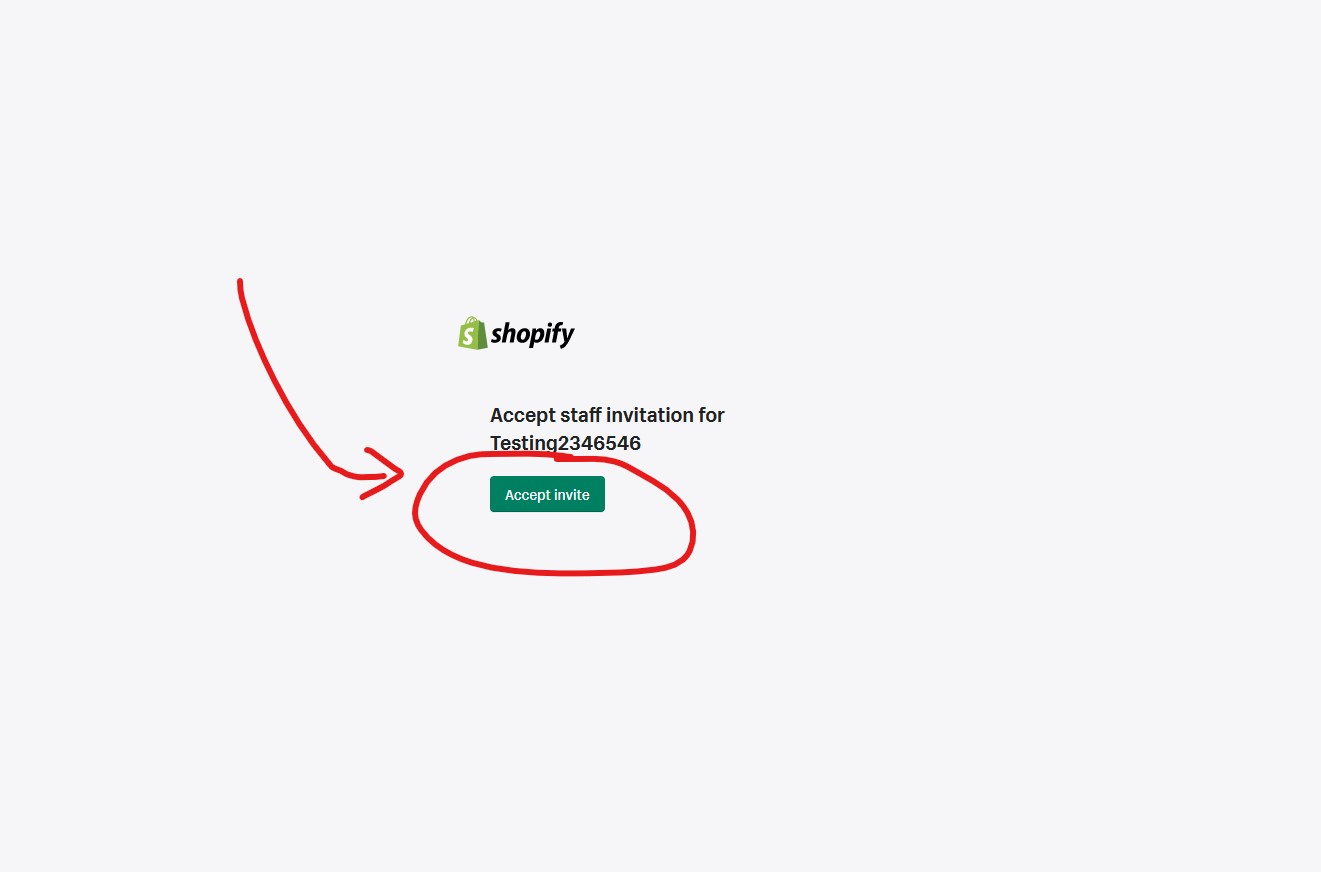
- Once you click the button, a Shopify account page will be opened in your browser. Click the button "Accept Invite."
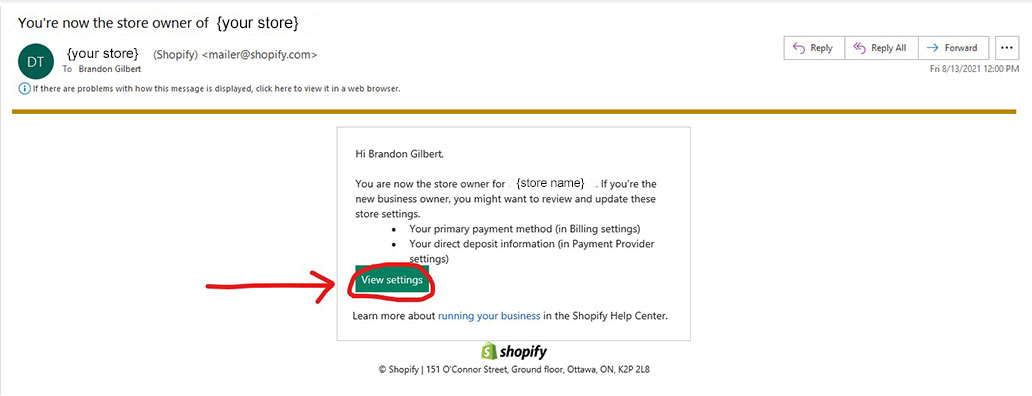
- Next, we'll receive confirmation that you're now a Staff Member on the account, and we can initiate a transfer of ownership for the account. You'll receive another automated email from Shopify once we initiate the transfer. Open the email and click the button "View Settings."
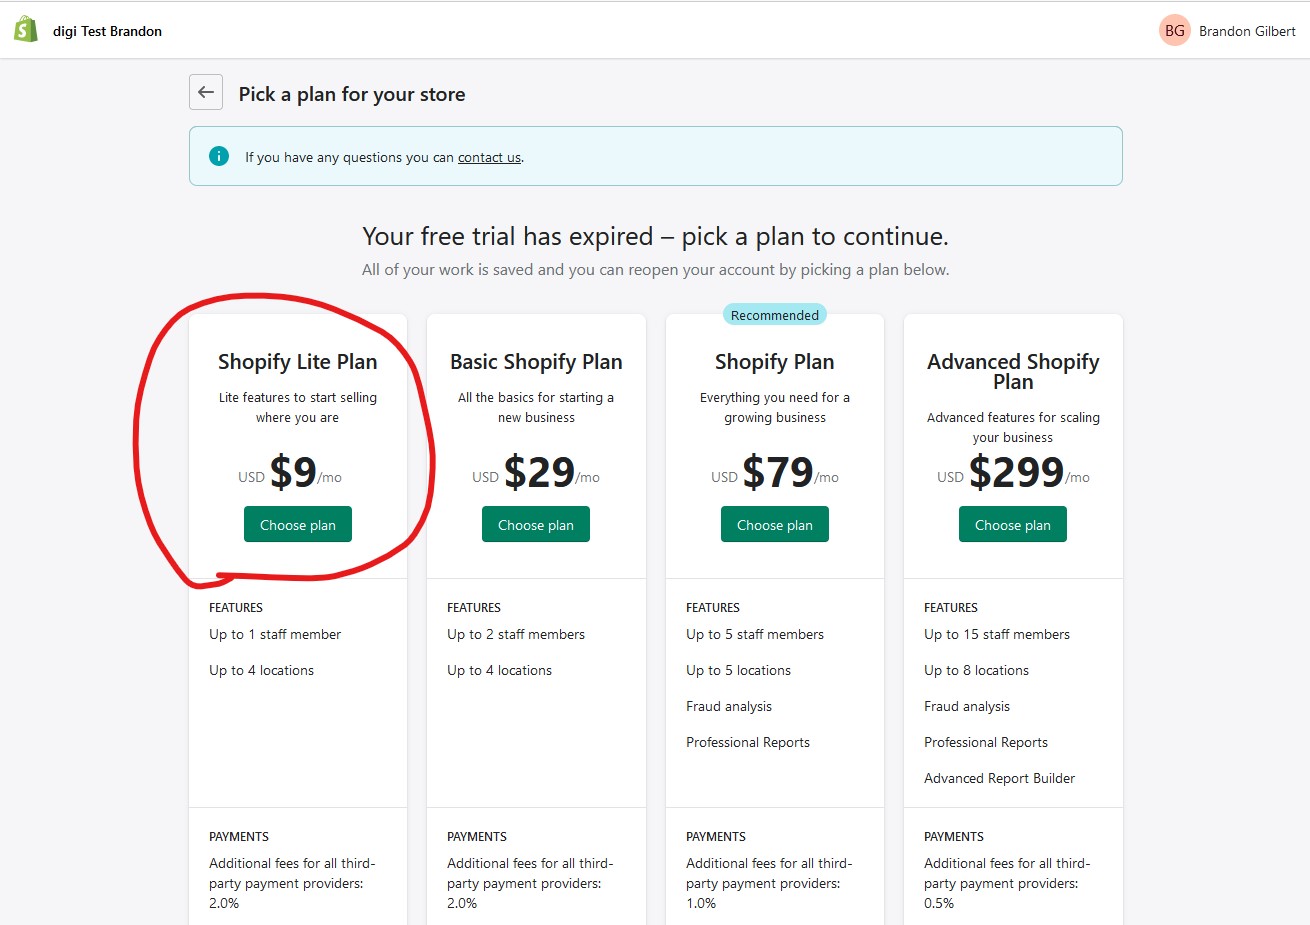
- A browser page will be opened where you will need to login if you're not already. Once you login, you will see a message that the store is currently frozen because you need a subscription plan. Below you will see two options. Select the first option, "Pick a plan,"
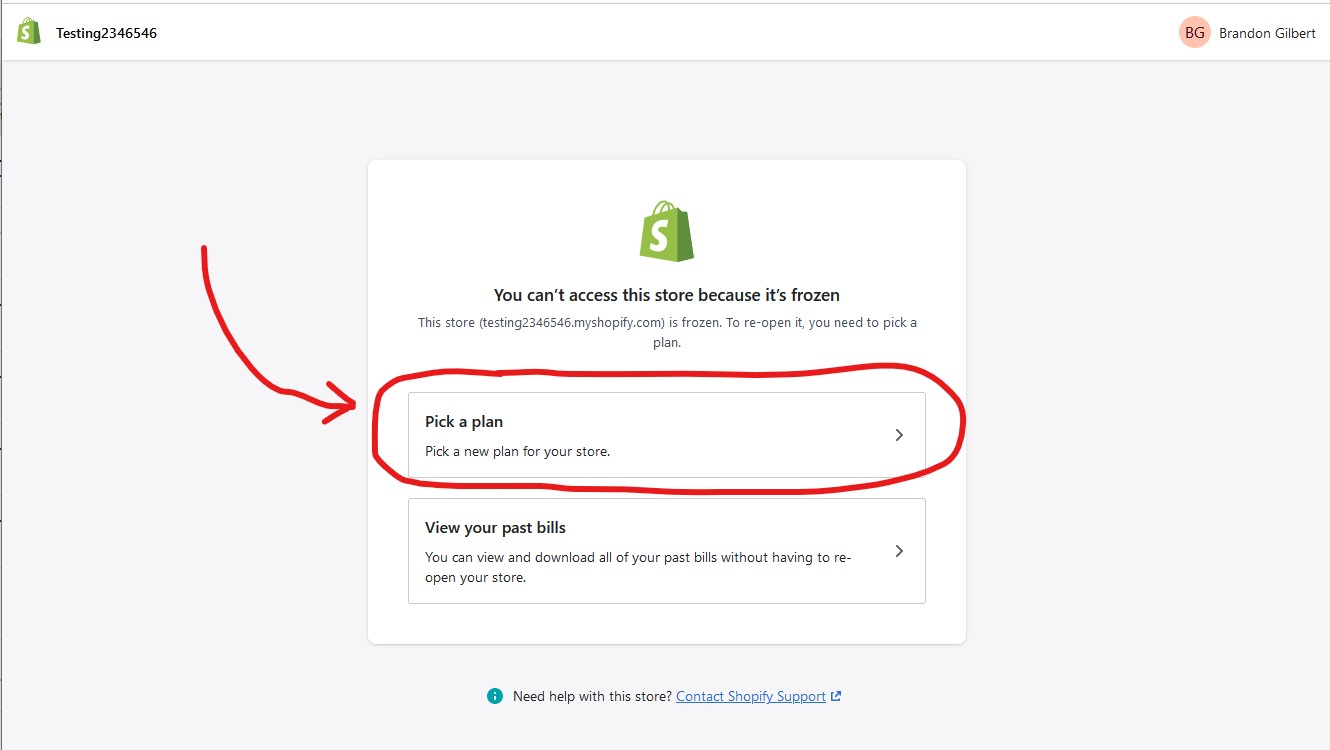
- In most cases, unless specified otherwise per your request, we have integrated your Shopify account into your custom website, and as such are not using Shopify's Storefront feature. As such, you will not need one of Shopify's expensive monthly plans, and you can select the Shopify Lite plan for $9/month.
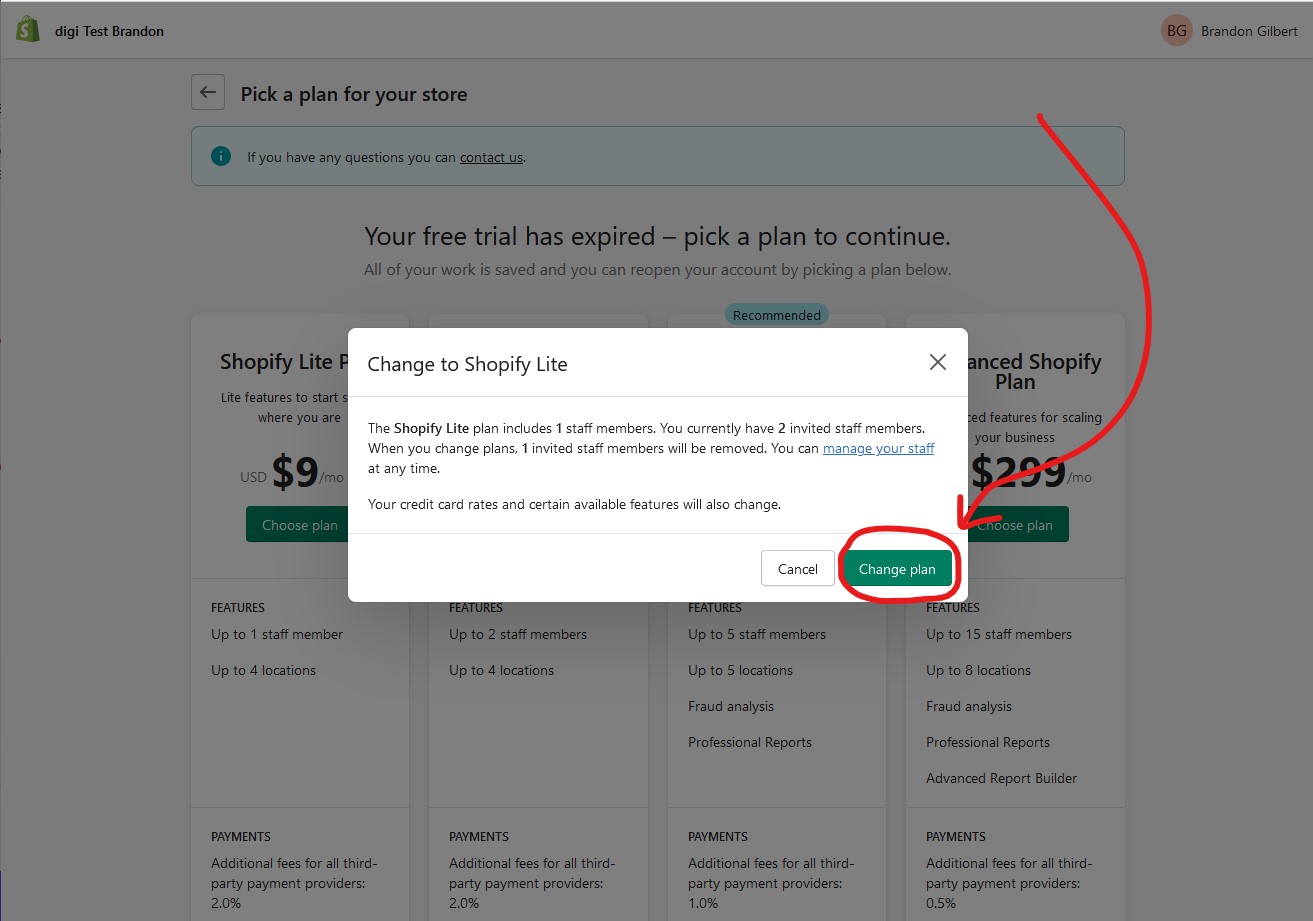
- If you happen to receive this message about staff members, disregard it by click the "Change Plan" button.
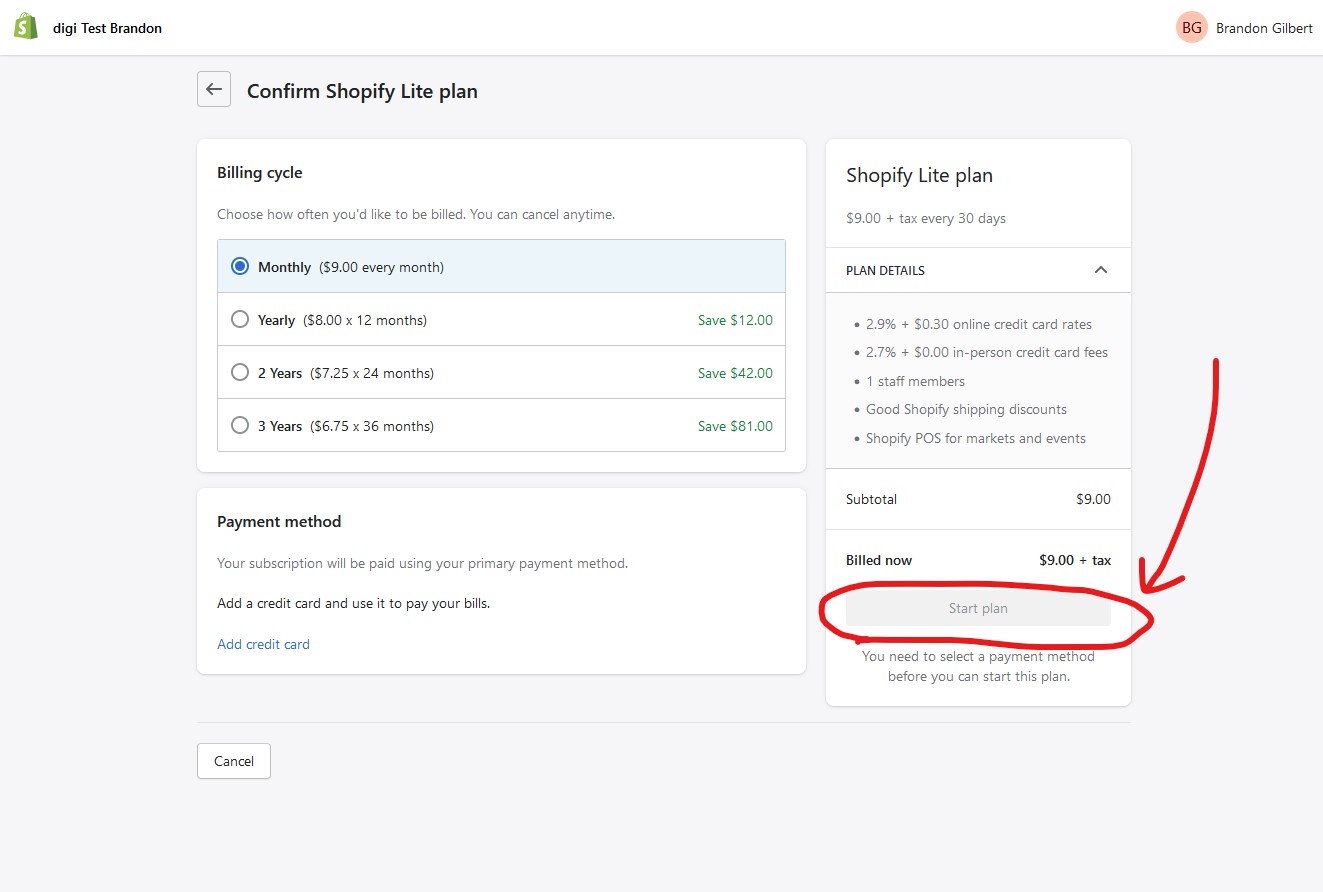
- Once you select the Shopify plan of your choice, you will be taken to another screen where you will choose your desired billing cycle and enter your payment method details.

- Once you update these details, you will have a summary of the transaction info appear to the right of the screen. To proceed, click the "Start Plan" button.
- If you entered your card details correctly, you should be all set to continue updating your store's payment processing, tax, and shipping details. We recommend opening and saving the Shopify Quick Reference Guide for quick links to access your settings: https://cdn.shopify.com/assets/documents/partner-marketing/merchant-handoff.pdf
PLEASE NOTE: You will not be able to sell items/process payments until you take the time to enter in your payment processing, tax, and shipping details.